Meteobridge VM on VMware
From meteobridge
First step is to download the free of charge (for non-business use) VMware Workstation Player from here. After installation of VMware package you can start to setup a Meteobridge VM. You find the Meteobridge VM disk image for VMware in "vmdk" format here.
Steps to install the Meteobridge VM in a VMware environment are explained below in terms of an example workflow.
- When you start VMware Workstation Player you are offered to "Create a New Virtual Machine", select this option.
- When asked where to install from select "I will install the operating system later" option and press "Next".


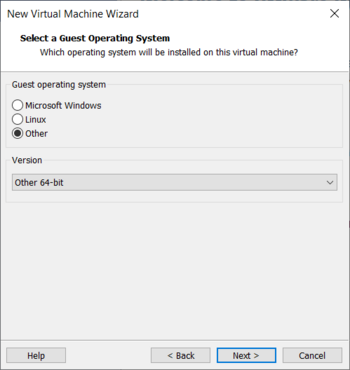
- Next, VMware asks which type of guest OS you plan to install. Select "Other" and choose "Other 64-bit" from the sub menu, press "Next".
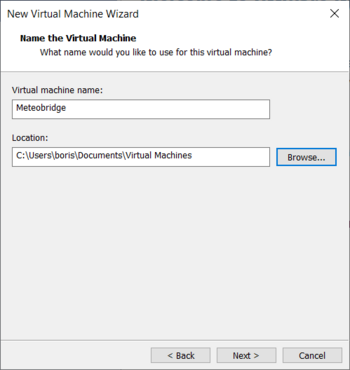
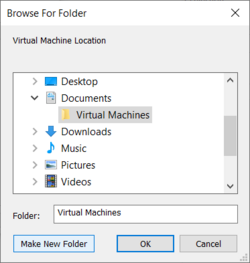
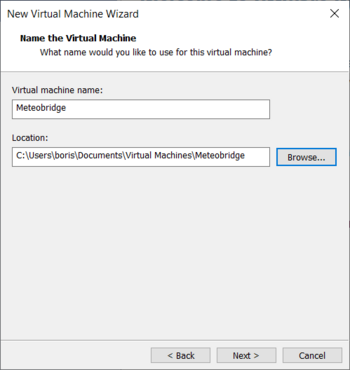
- Give the Meteobridge VM a telling name and select the folder, where VMware stores the VMs on you system. Folder is usually named "Virtual Machines" somewhere down on your System Disk. Press "Browse..." to go to this folder.
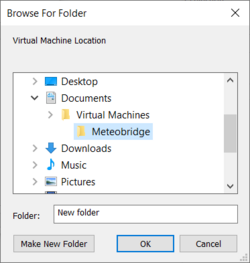
- Press "Make New Folder" to generate a folder for the Meteobridge VM within the "Virtual Machines" folder of VMware. Name this new folder "Meteobridge" and press "OK".
- Now the Meteobridge Folder is established and it is time to setup the Meteobridge VM within this folder by pressing "Next".
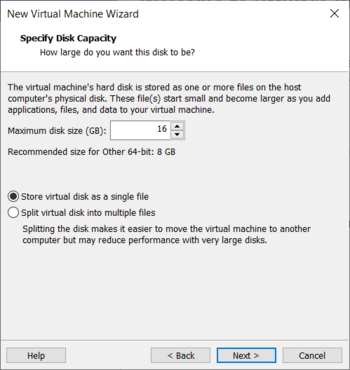
- Specify maximum disk size as 16GB and tell that a single file should be used for storage. Press "Next".
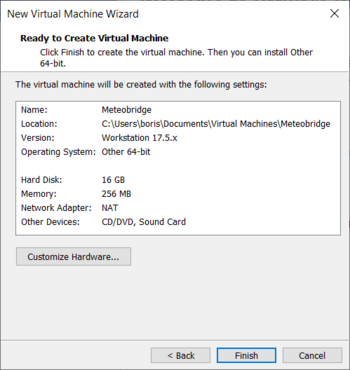
- WVMware does a standard configuration of the VM which you can alter now. Press "Customize Hardware..." button to do so.
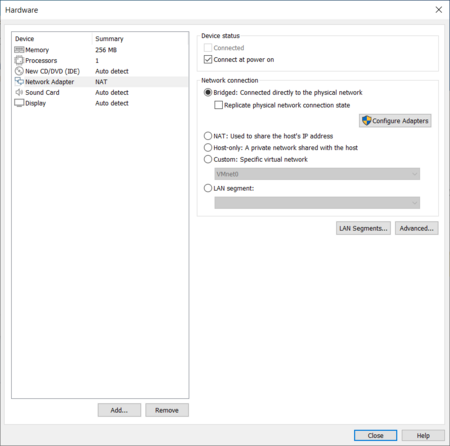
- Set memory to 256 MB, which is sufficient for Meteobridge.
- Select "Network Adapter" to "Connect at power on" and into "Bridged" mode.
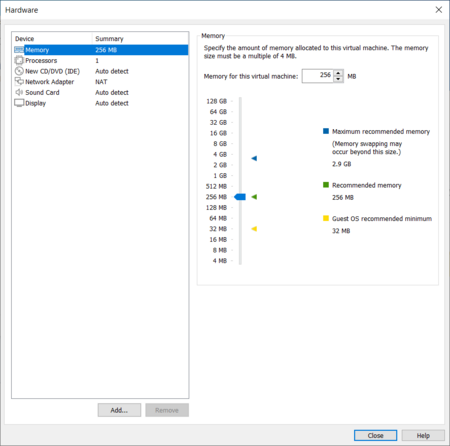
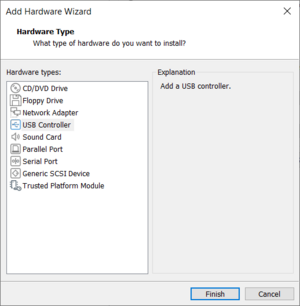
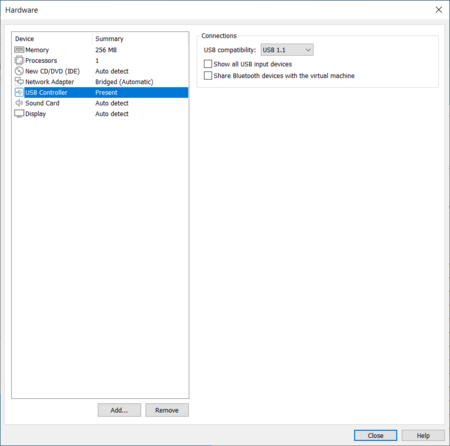
- Ususally a USB controller is not part of the default setup. Therefore, press the "Add..." button and select the USB controller and press "Finish". Make sure the added USB controller can handle USB 1.1.
- Next, press "Close" to start building of the Meteobridge VM.
- Now we have an Meteobridge VM, but it is not operational as the initially downloaded Meteobridge vmdk image still needs to be connected with the just defined VM.
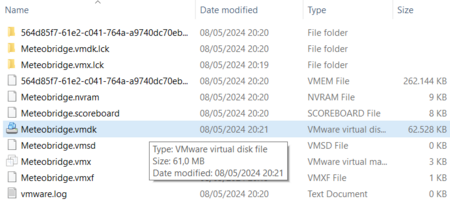
- In the Meteobridge VM folder you will find a lot of files. One is named "Meteobridge.vmdk". This one needs to replaced by the downloaded Meteobridge disk image. Rename the downloaded disk image "Meteobridge.vmdk" and replace the vmdk file in the Meteobridge folder by it.
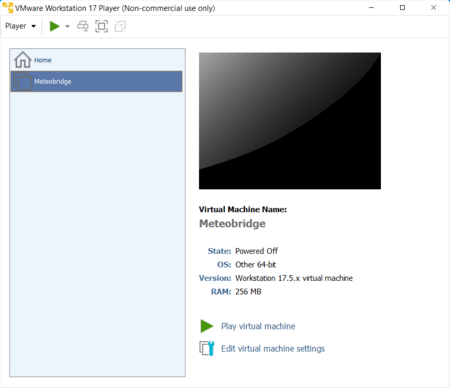
- Now it is time to start the Meteobridge VM by pressing "Play virtual machine".
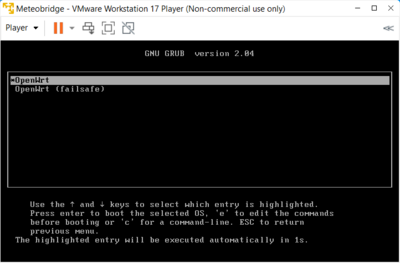
- VMware detects that something with the disk has changed. Press "Yes" and Meteobridge VM will start.
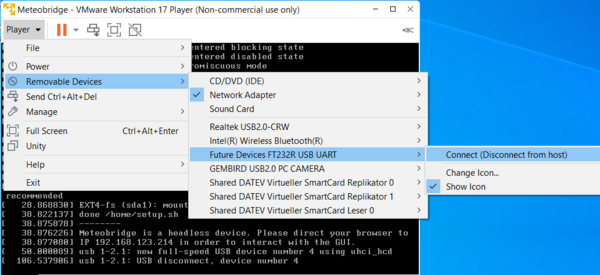
- Last thing to do is to tell VMware that the attached USB device (here a Meteostick) should be connected with the Meteobridge VM.
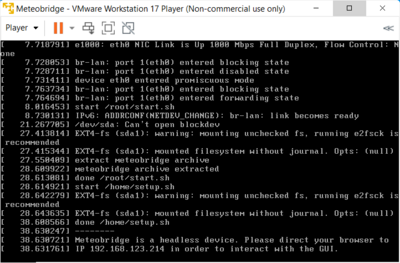
- Now you can direct your browser to the IP shown at the end of the console boot messages to start working with Meteobridge. HTTP default user is "meteobridge" and password is "meteobridge" too.


