Meteobridge VM on VirtualBox
From meteobridge
First step is to download VirtualBox from here. After installation of VirtualBox package on your host you can start to setup a Meteobridge VM. You find the Meteobridge VM disk image for VirtualBox in "vdi" format here.
Steps to install the Meteobridge VM in a VirtualBox environment are explained below in terms of an example workflow.
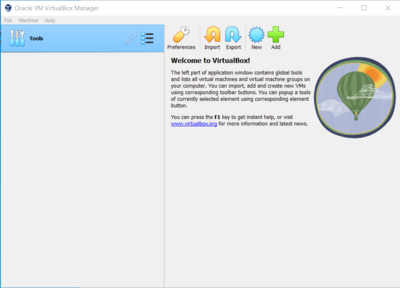
- When you start VirtualBox you are offered to create a new Virtual Machine by pressing the "New" button.
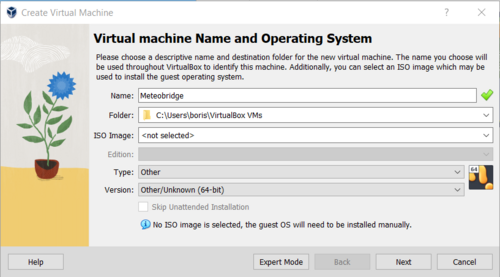
- Enter "Meteobridge" as the VM name, "Other" as OS type and "Other/Unknown (64-bit)" as OS version. Don't select an ISO image as our install will not be done that way. The "Folder" entry tells you where the VM files will be located. Copy the downloaded Meteobridge vdi file into this folder and press "Next".
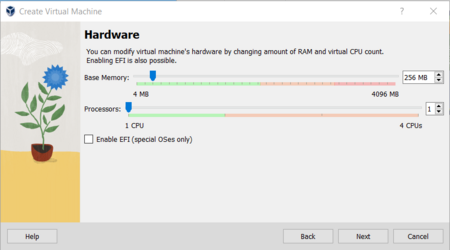
- Now you can select RAM size (256 MB is totally fine, Meteobridge will not benefit from more) and number of processors (also 1 is best option as Meteobridge does not make much use of parallel processing and is not demanding on the CPU side). Press "Next".
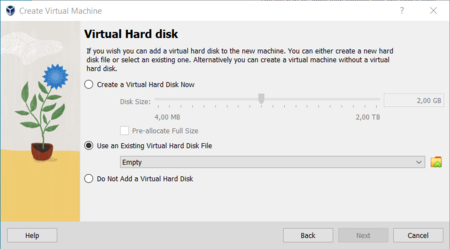
- Copy the Select "Use an Existing Virtual Hard Disk File" and click on the folder icon the select the Meteobridge VM disk image"